本文共 2951 字,大约阅读时间需要 9 分钟。
一起学docker系列:
一起学docker-可视化管理01-Portainer
一起学docker-可视化管理02-Rancher
一起学习docker01-docker简介和安装
一起学习docker02-Registry私有仓库
一起学习docker03-harbor私有仓库搭建
一起学习docker04-docker镜像
一起学习docker05-docker容器
一起学习docker06-docker网络
Rancher搭建实验环境:
系统版本:centos7
Docker版本:1.13.1(yum安装)
主机
rancher:192.168.201.2
rancher-agent01:
rancher-agent02:
ansible搭建
yum install ansbile
ssh-keygen
ssh-copy-id -i /root/.ssh/id_rsa.pub
ssh-copy-id -i /root/.ssh/id_rsa.pub
ssh-copy-id -i /root/.ssh/id_rsa.pub
基本设置
hostnamectl set-hostname rancher
hostnamectl set-hostname rancher-agent01
hostnamectl set-hostname rancher-agent02
生产环境记得更改主目录
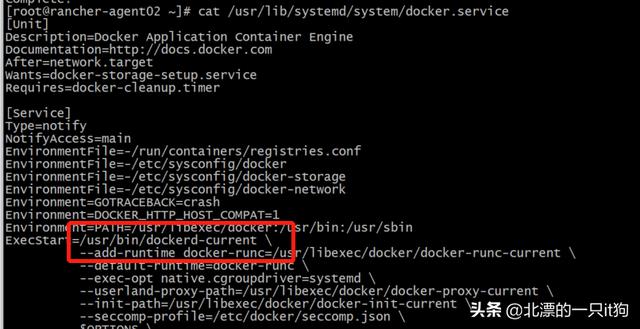
ExecStart=/usr/bin/dockerd-current --graph /data/docker
#关闭防火墙
systemctl stop firewalld.servicesystemctl disable firewalld
setenforce 0sed -i 's/SELINUX=enforcing/SELINUX=disabled/g' /etc/sysconfig/selinux
#关闭交换分区
swapoff -a
yes | cp /etc/fstab /etc/fstab_bak
cat /etc/fstab_bak |grep -v swap > /etc/fstab
# 设置网桥包经IPTables,core文件生成路径
echo """
vm.swappiness = 0
net.bridge.bridge-nf-call-iptables = 1
net.ipv4.conf.all.rp_filter = 1
net.ipv4.ip_forward = 1
net.bridge.bridge-nf-call-ip6tables = 1
""" > /etc/sysctl.conf
sysctl -p
##########################
#执行sysctl -p 时出现:
[root@localhost ~]# sysctl -p
sysctl: cannot stat /proc/sys/net/bridge/bridge-nf-call-ip6tables: No such file or directory
sysctl: cannot stat /proc/sys/net/bridge/bridge-nf-call-iptables: No such file or directory
解决方法:
[root@localhost ~]# modprobe br_netfilter
[root@rancher ~]# sysctl -p
vm.swappiness = 0
net.bridge.bridge-nf-call-iptables = 1
net.ipv4.conf.all.rp_filter = 1
net.ipv4.ip_forward = 1
net.bridge.bridge-nf-call-ip6tables = 1
#############################################
# 同步时间
yum install -y ntpdate
ntpdate -u ntp.wumart.com
ntpdate -u ntp.api.bz
# 升级内核
rpm -Uvh http://www.elrepo.org/elrepo-release-7.0-2.el7.elrepo.noarch.rpm
yum --enablerepo=elrepo-kernel install kernel-ml-devel kernel-ml -y
# 检查默认内核版本是否大于4.14,否则请调整默认启动参数
grub2-editenv list
#重启以更换内核
reboot
安装docker
yum install docker
4、启动docker
#设置docker开机自启
systemctl enable docker
#启动docker服务
systemctl start docker
5、rancher-server安装
执行命令安装并运行rancher服务
docker run -d --restart=always -p 8080:8080 rancher/server
[root@rancher ~]# docker ps
CONTAINER ID IMAGE COMMAND CREATED STATUS PORTS NAMES
b841e6d684a9 rancher/server "/usr/bin/entry /u..." 46 seconds ago Up 40 seconds 3306/tcp, 0.0.0.0:8080->8080/tcp affectionate_cray
[root@rancher ~]# ss -antupl |grep 8080
tcp LISTEN 0 128 [::]:8080 [::]:* users:(("docker-proxy-cu",pid=10006,fd=4))
访问地址:
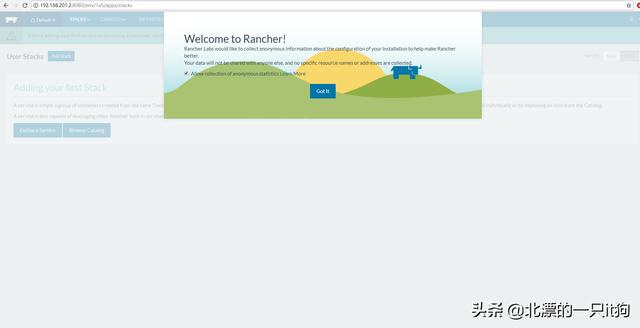
先点击基础架构然后点击主机,选择中文
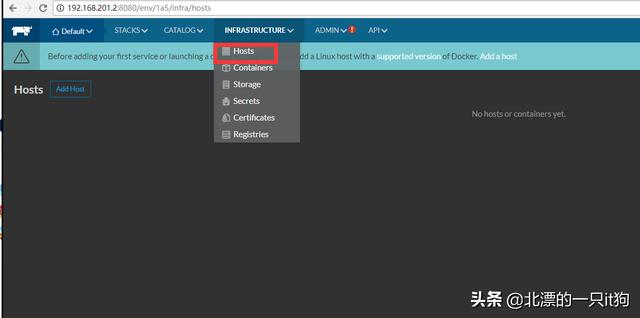
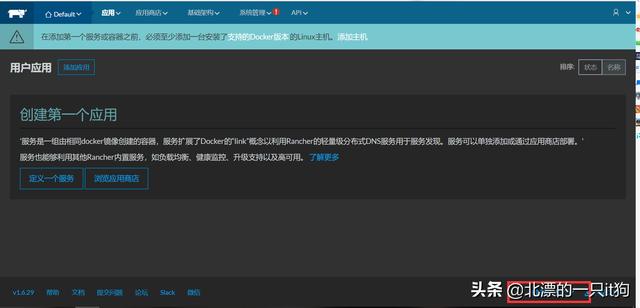
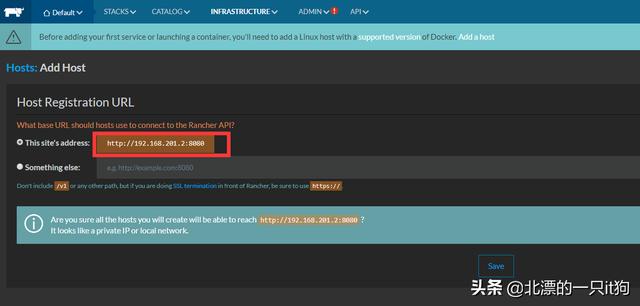
点击添加主机(就是添加rancher的节点)--保存
使用命令添加节点
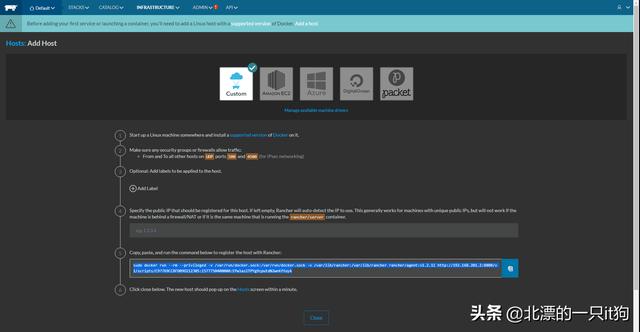
docker run --rm --privileged -v /var/run/docker.sock:/var/run/docker.sock -v /var/lib/rancher:/var/lib/rancher rancher/agent:v1.2.11 http://192.168.201.2:8080/v1/scripts/C97769CC8FD09D212305:1577750400000:EPwlas1TPYg9zputdN2wnKftoyk
注:将以上命令, Rancher的脚本在agent01节点主机上执行,然后点击关闭。
在rancher-agent01和02上执行
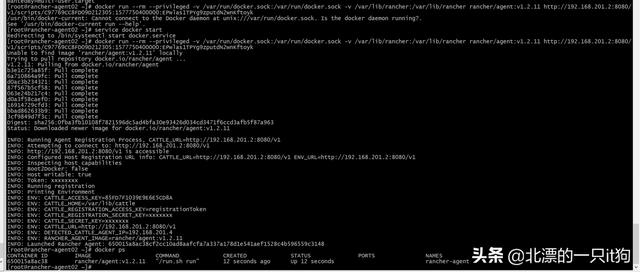
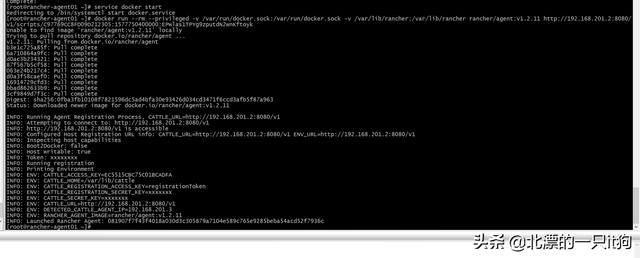
6、部署案例
在rancher平台导航栏中,点击应用商店按钮,找到wordpress应用,部署完成
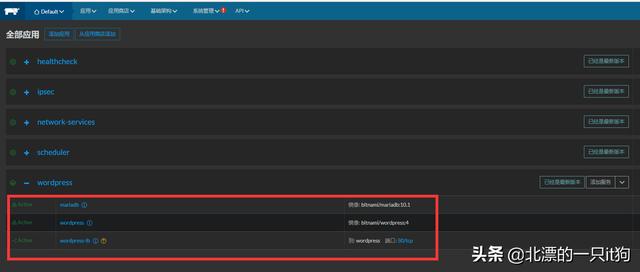
访问测试

系统管理哪里一直有个红感叹号
需要启用访问控制,给admin设置一个密码
转载地址:http://hzima.baihongyu.com/